Do you scrapbook and have tons of extra scrap pieces of paper? Are you looking for an easy Easter craft to do with your kids? This is Paper Strip Easter Egg Craft was an easy craft my daughter had a lot of fun doing, and I already had everything I needed in my house.
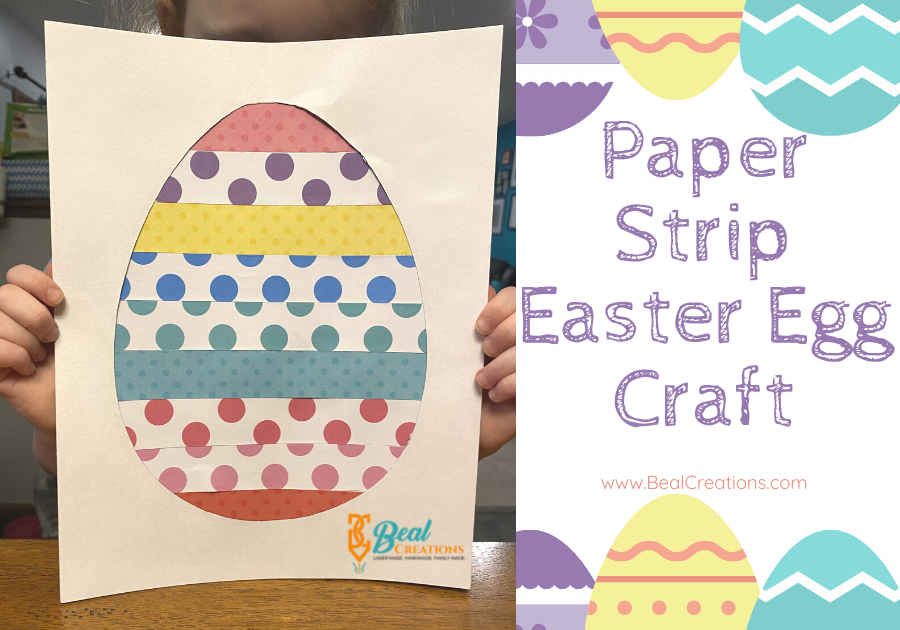
Paper Strip Easter Egg Craft
Whether you scrapbook or not, this is a great craft for your kids to complete during Easter. You can easily use pieces of construction paper instead of scrapbook paper. You can also have your child draw lines and shapes with several different colors of markers on a whote piece of paper and cut it into strips. You could even use strips cut from magazines – really anything that will give you an array of colors.

Between my passion of scrapbooking and our business, I have so many pieces of scrap paper it is a little insane. Anyone else just CANNOT throw away scraps? I know they can be used for something some day and I do not want to be wasteful. Thankfully, just as my pile was getting a little too out of control, Easter started to sneak up on us. These scraps are perfect to make fun, multi-patterned paper Easter egg crafts.
Supplies You Will Need
- Strips of scrapbook paper (or one of the alternatives mentioned above)
- One piece of white cardstock paper
- Egg outline printed on whote cardstock paper (see below)
- Scissors
- Glue stick

How To Make a Paper Strip Easter Egg Craft
- Print the egg outline (template found below) on a piece of white cardstock paper. You can also print on colored paper or regular white printer paper if you choose. I like cardstock because it is a little sturdier and I wanted white paper so the colors of the paper strips would pop.
- Cut the egg out of the paper, leaving an egg shape in the paper. This will be your top layer of your craft.
- If your patterned paper is not already cut in strips, do that now. The size of the strips is personal choice, but they need to be at least as long as the egg ooutline so as not to have any white gaps. My strips were about one inch wide.
- Let your child begin laying down the strips on the full piece of white paper. Have them glue them down to the paper after they are happy with their pattern.
- Once all the strip are glued down, put glue on the egg outline cutout paper. We put glue on the side with the black outline, that way no black lines would show on our final piece. Place the paper on the paper with the strips.
- Your child can write a Happy Easter message on the final art piece if they like.


Share the Love
Once your child has made their own Paper Strip Easter Egg Craft to hang on the fridge, they can make more for family! We also made a smaller version we can fit in envelopes to send as Easter cards to grandparents. What else would you do with this fun craft?
If your child completed this craft activity, we would love to see their masterpiece! Feel free to share a picture on our Facebook page. Don’t forget to follow us on Facebook and Instagram for more craft fun!

Happy Crafting!